Blogger has a lot of great widgets built in to include various funcionality in your blog, but syntax highlighting is not one of them. Fortunately it is fairly easy to add this capability, you just have to do some customizing as described below.
Add custom CSS and JavaScript includes to the template
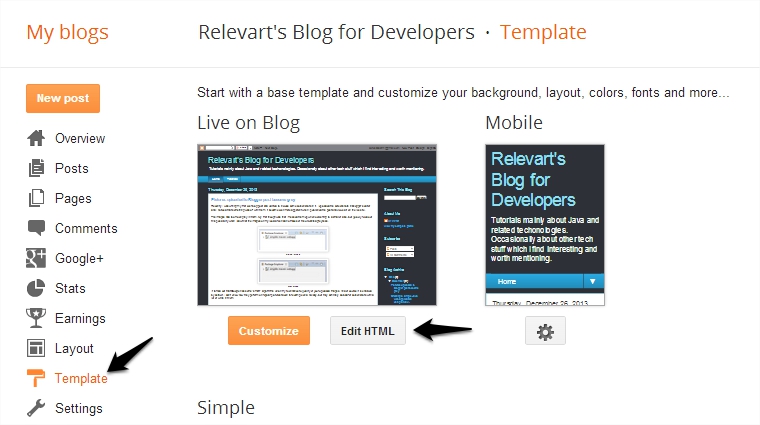
As the first step you have to include the CSS and JavaScript code into the template you are currently using. On you blog’s admin panel select Template and click Edit HTML.
In the code search for the </head> tag and just before that insert the following code.
<!-- Syntax Highlighter START -->
<link href='http://alexgorbatchev.com/pub/sh/current/styles/shCore.css' rel='stylesheet' type='text/css'/>
<link href='http://alexgorbatchev.com/pub/sh/current/styles/shThemeDefault.css' rel='stylesheet' type='text/css'/>
<script src='http://alexgorbatchev.com/pub/sh/current/scripts/shCore.js' type='text/javascript'/>

<script src='http://alexgorbatchev.com/pub/sh/current/scripts/shBrushAS3.js' type='text/javascript'/>
<script src='http://alexgorbatchev.com/pub/sh/current/scripts/shBrushBash.js' type='text/javascript'/>
<script src='http://alexgorbatchev.com/pub/sh/current/scripts/shBrushColdFusion.js' type='text/javascript'/>
<script src='http://alexgorbatchev.com/pub/sh/current/scripts/shBrushCSharp.js' type='text/javascript'/>
<script src='http://alexgorbatchev.com/pub/sh/current/scripts/shBrushCpp.js' type='text/javascript'/>
<script src='http://alexgorbatchev.com/pub/sh/current/scripts/shBrushCss.js' type='text/javascript'/>
<script src='http://alexgorbatchev.com/pub/sh/current/scripts/shBrushDelphi.js' type='text/javascript'/>
<script src='http://alexgorbatchev.com/pub/sh/current/scripts/shBrushDiff.js' type='text/javascript'/>
<script src='http://alexgorbatchev.com/pub/sh/current/scripts/shBrushErlang.js' type='text/javascript'/>
<script src='http://alexgorbatchev.com/pub/sh/current/scripts/shBrushGroovy.js' type='text/javascript'/>
<script src='http://alexgorbatchev.com/pub/sh/current/scripts/shBrushJScript.js' type='text/javascript'/>
<script src='http://alexgorbatchev.com/pub/sh/current/scripts/shBrushJava.js' type='text/javascript'/>
<script src='http://alexgorbatchev.com/pub/sh/current/scripts/shBrushJavaFX.js' type='text/javascript'/>
<script src='http://alexgorbatchev.com/pub/sh/current/scripts/shBrushPerl.js' type='text/javascript'/>
<script src='http://alexgorbatchev.com/pub/sh/current/scripts/shBrushPhp.js' type='text/javascript'/>
<script src='http://alexgorbatchev.com/pub/sh/current/scripts/shBrushPlain.js' type='text/javascript'/>
<script src='http://alexgorbatchev.com/pub/sh/current/scripts/shBrushPowerShell.js' type='text/javascript'/>
<script src='http://alexgorbatchev.com/pub/sh/current/scripts/shBrushPython.js' type='text/javascript'/>
<script src='http://alexgorbatchev.com/pub/sh/current/scripts/shBrushRuby.js' type='text/javascript'/>
<script src='http://alexgorbatchev.com/pub/sh/current/scripts/shBrushScala.js' type='text/javascript'/>
<script src='http://alexgorbatchev.com/pub/sh/current/scripts/shBrushSql.js' type='text/javascript'/>
<script src='http://alexgorbatchev.com/pub/sh/current/scripts/shBrushVb.js' type='text/javascript'/>
<script src='http://alexgorbatchev.com/pub/sh/current/scripts/shBrushXml.js' type='text/javascript'/>

<script language='javascript' type='text/javascript'>
SyntaxHighlighter.config.bloggerMode = true;
SyntaxHighlighter.all();
</script>
<!-- Syntax Highlighter END -->
Add code to your post
Go to the post editor screen and switch to HTML view.
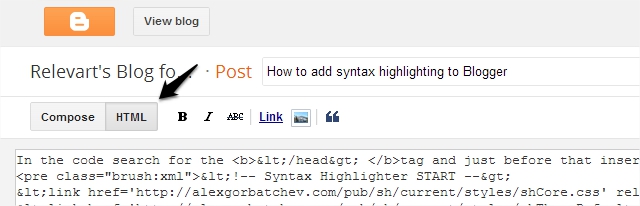
In the HTML view paste your code and surround it with a <pre> tag, and set the highlighting mode in the class attribute of the tag. Here is an example of that.
<pre class="brush:java">
public static void main(String[] args) {
    System.out.println("Hello World!");
}
This produces the following output:
public static void main(String[] args) {
    System.out.println("Hello World!");
}
Keep in mind that if you have angle brackets in your code then you have to escape them (with this tool for example), otherwise it will be interpreted as part of the HTML.
Getting rid of unnecessary brushes
The code I pasted above contains a lot of brushes, which make it possible to use a lot of different highlighting methods. However if you know for sure that you will never need some of them, then you can just delete the unnecessary ones saving some HTTP requests.
Use other themes
There are a few CSS themes available on the author’s website if you would like to change the appearance of the code blocks.
Warning
With certain Blogger themes this method may not work.


